This article will go through all aspects of Phone User management in the Jet Portal, including resending or resetting your password.
Every account is allowed to create or modify the number of phone users that they have signed up for. If you need to increase this limit, please speak to Jet Support to upgrade your account by using the Submit a request button on the right of this page.
To get started, navigate into Phone Users, under the Phone System menu.
This will display your list of phone users currently configured. If you are a new account, this may say No Phone Users.
1. Navigate to https://portal.jetinteractive.com.au/

2. Click "Phone System"

3. Click "Phone Users"

4. Click this icon next to the user you wish to edit.

This will bring up a form to fill out. We will go through this together but here is an overview:
- Extension - the number used by other phone users to dial this user (Eg: for John to call Mary, they would call 101 instead of a direct phone number). This field cannot be edited once set.
- Email address - this email will be used when sending the username/password credentials.
- Display Name - this name will show in reports as the Answering Point, and also on the Jet phone apps as the user's name when logging in
- Local Prefix - which prefix the system should apply as the default for outbound calls (eg: when set as 02, if calling 02 91464604, you can call 91464604 and this will automatically add 02 as the local prefix.)
- Caller ID - this is the number that will display when you are calling outbound. This must be a local or mobile number on your account.
5. Click the "Extension" field.

6. Click here to set a local prefix

7. Click here to set a name

8. Click the "Caller ID" field.

9. Choose a phone number

10. Choose an SMS number (Mobiles only)

11. Click "Save"

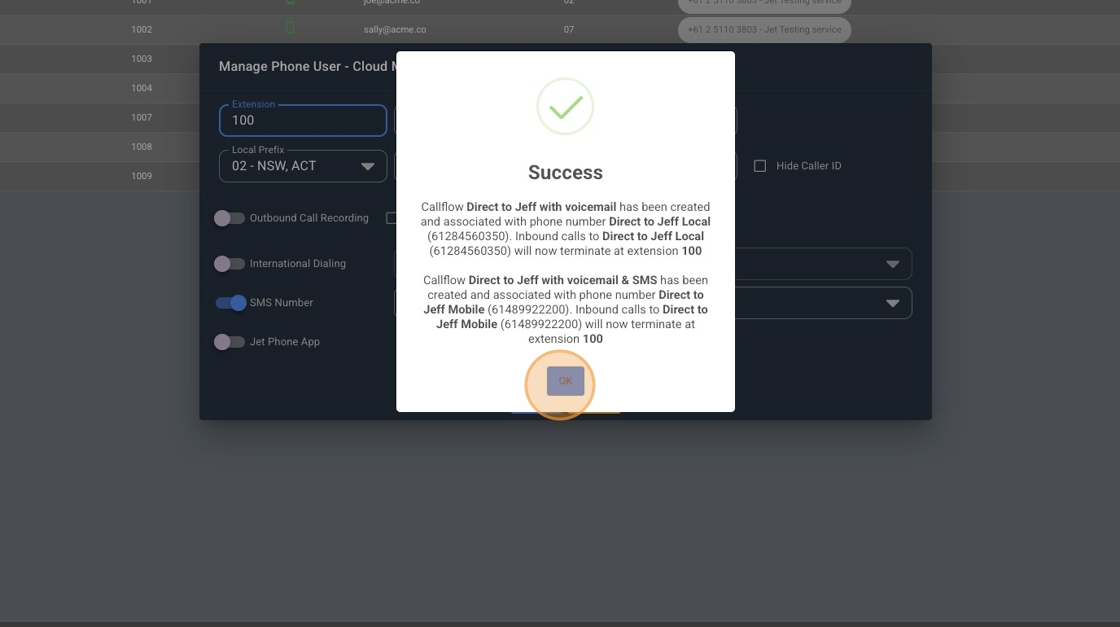
12. Click "OK"

13. Click "OK"
14. Click "Jet Phone App" to enable app usage for this user.

15. Put the persons email address

16. Click "Save"

17. Click "Continue"

18. Click "OK"

19. Click here to reset the password or resend it.

20. Click "Yes"

21. Click "OK"
