An IVR, sometimes called an Auto Attendant, is used to play a menu to callers with your different departments and then divert callers directly to the appropriate department.
Follow the steps below to learn how to build an IVR.
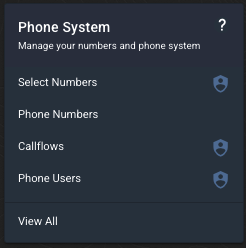
Step 1 - Under the Phone System menu, select Callflows.
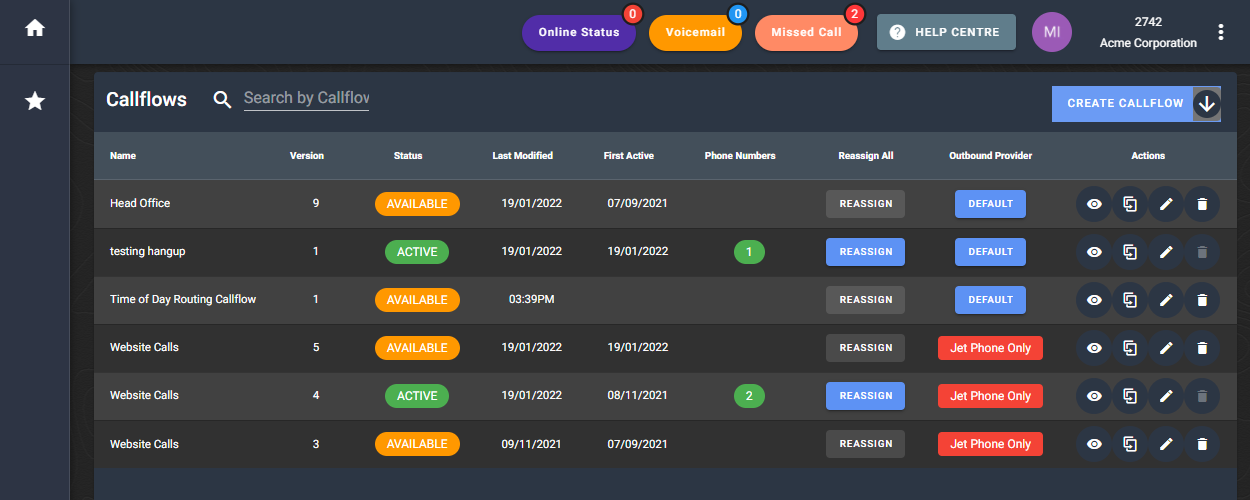
Step 2 - Find the callflow you want to modify and click the edit button
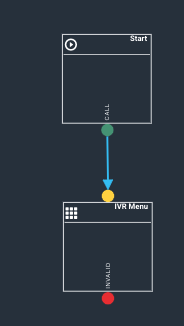
Step 3 - Click on the widget selection button and drag an IVR widget to the canvas.

Place the IVR widget in the callflow where you want the menu to play to callers and connect the widget above to your IVR.
Step 4 - Click on the IVR widget to edit. Name your IVR then click on IVR Audio to upload your audio file that tells your callers which key to press for each option.
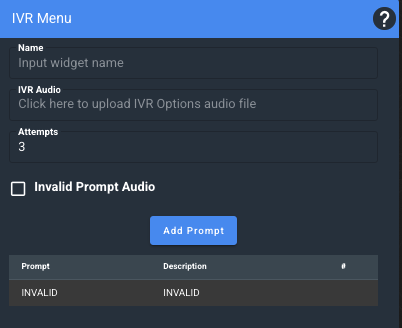
You can enable to option for Invalid Prompt Audio to add a message for anybody pressing an option that does not exist.
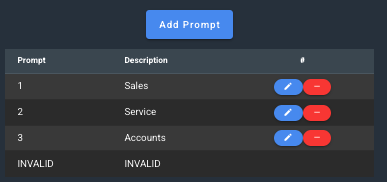
Step 5 - Click on Add Prompt selection to add your prompts. Select the number of each prompt and type the corresponding department or option in the box next to it.

Then click Add. Repeat this step until you have entered all prompts that appear in your audio file.
you will now see each of your options listed in your IVR configuration screen. Click anywhere on the canvas to save this widget.
Note - the names that you give your departments or options will show up in your reports, including your IVR Report.
We recommend making these names unique - (for example Sales voicemail vs Support Voicemail) - to ensure clear reporting).
Step 6 - You will now have additional nodes on the bottom of the IVR menu for each prompt that you entered.
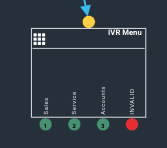
Drag a dial, queue or greeting widget to the canvas and connect to each option. The widget that you connect to each prompt will depend on the behaviour that you want after the caller selects each option.
- A Greeting will play an audio message that can be different for each option.
- A Dial will ring an answering point, Jet phone user or multiple of either.
- A Queue widget will place callers in pre-configured queues. Note you must have Jet phone users and a Queue already set up on your account to use this feature.
More info: How to Set up a New Phone User & How to set up call queues
Connect each prompt option to a widget based on your desired behaviour, you can then add voicemail or failover options to each of your selections.
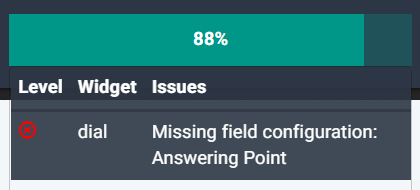
Step 7 - Once you have completed the flow for each prompt of your IVR the callflow should be at 100%. If it is not at 100% you can click on the percentage to see what needs to be added to your callflow.
You can save the callflow as a draft OR save as available to make the change live on all associated phone numbers.
Saving your callflow automatically creates a new version so that you can easily roll back any changes.